If you're a restaurant owner, food company owner, or nutritionist, then you probably already know how important a marketing tool culinary photography is. However, as it turns out, it's not just a matter of snapping a picture of a dish quickly – it's full of pitfalls, even from the point of view of experienced photographers. What errors should I pay attention to? And how can they be corrected? Read more about this below!
Wanting to point out the most common mistakes I see in cooking photos for beginners (or not...) So, I looked through the contents of my computer's disk and found photos from the early days of my cooking blog. You can see for yourself that everyone started out once and made the same mistakes. 😉
1. Shooting with a ceiling light or hood
You cook in the kitchen, so the natural place to photograph a dish is the kitchen countertop or the table where you eat. There is no window nearby, and the room looks dark, so you turn on the ceiling light and take photos with it. The effect is as follows: ugly strong shadows appear on the photo, the photo has a yellowish tint, and the food looks unappetizing.
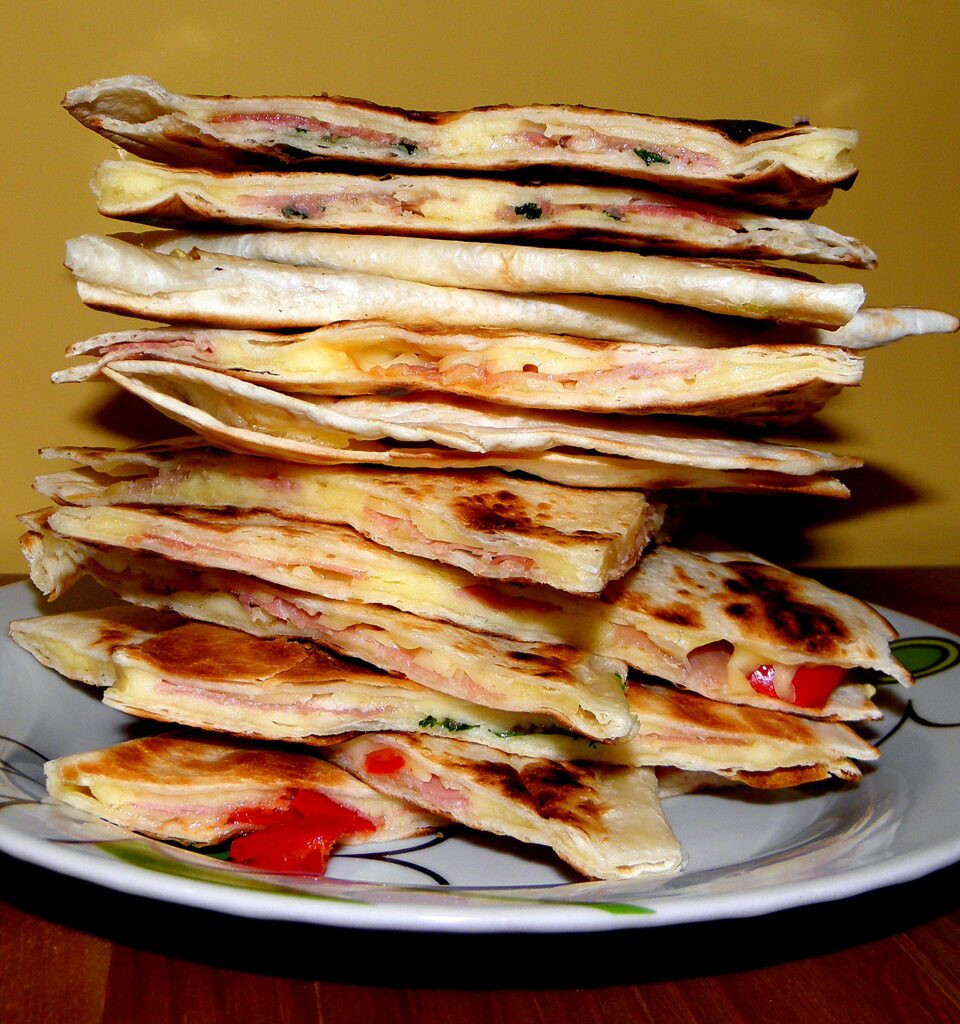
Decision:
Avoid taking photos in the artificial light of a ceiling lamp or spot lighting in the kitchen. The light bulbs of home lamps have a warm color and make the colors in the photo not natural. If you don't have flashlights for taking photos, take pictures only during the day when you have access to daylight. If the cake is prepared only at 20: 00, wait until it is photographed until the next morning.
For best results, place the song near a large window. Curtains further diffuse the light, making it softer. The kitchen is not always a good place for a home studio. Look around the apartment and think about which room is the brightest. Maybe you can move the coffee table to the window in the living room, take a picture on the bed in the bedroom or by the large balcony door?
If there is no other option and you need to take photos after dark, invest in a photo lamp that simulates daylight, i.e. with a color temperature of approx. 5500 K. To start your photography adventure, I especially recommend inexpensive LED panels or ring lights.
2. Front dish lighting
Many novice photographers think that the best light is the one that falls on the dish from the front. After all, they want to light up the dish well, especially on a cloudy day. However, their photos become flat and they lack magic…
Decision:
Have you ever noticed that the shadows in photos appear on the opposite side of the light source? If you light up the dish from the front, the shadows will be hidden behind the dish and will not be visible in the photo. Everything in the photo will be equally illuminated, but devoid of depth and three-dimensionality.
Eliminating shadows is typical for packaging photos for online stores, but in culinary photography, we don't want to completely get rid of them, because they are a carrier of important information. If you look at any photo of food, it will tell you the time of day (shadow length) and weather (shadow shape: sunny day = strong sharp shadows / cloudy day = softer shadows without sharp edges). Shadows also emphasize the height, texture, and shape of the dish.
So by photographing food, stand sideways to the window. The side light is suitable for almost any dish and is a favorite light direction for most culinary photographers.
3. Taking photos without a concept
The dish is ready, so you put it on the table and take a photo. The frame is a little empty, so you frantically look around the apartment and look for some elements to bring it to life. You thought it would be nice to add a few ingredients in the background, but didn't put them off during cooking. The time is sudden, because dinner is waiting next to your spouse, and the dish is getting cold. You're getting increasingly stressed out, so you take a few similar shots that don't suit you.
Decision:
Randomly selected details, a jumble and a general lack of ideas for the photo do not portend a successful shoot. Before you think about lifting the camera, plan out the photos on paper.
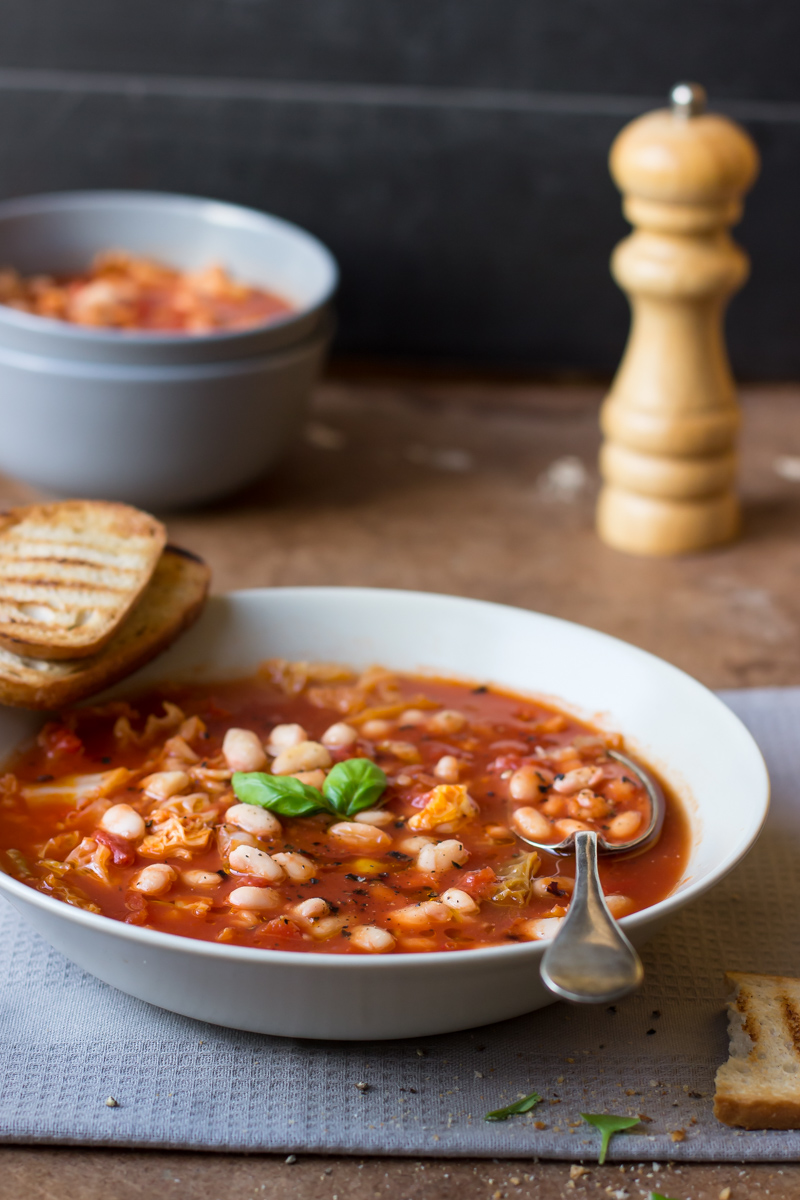
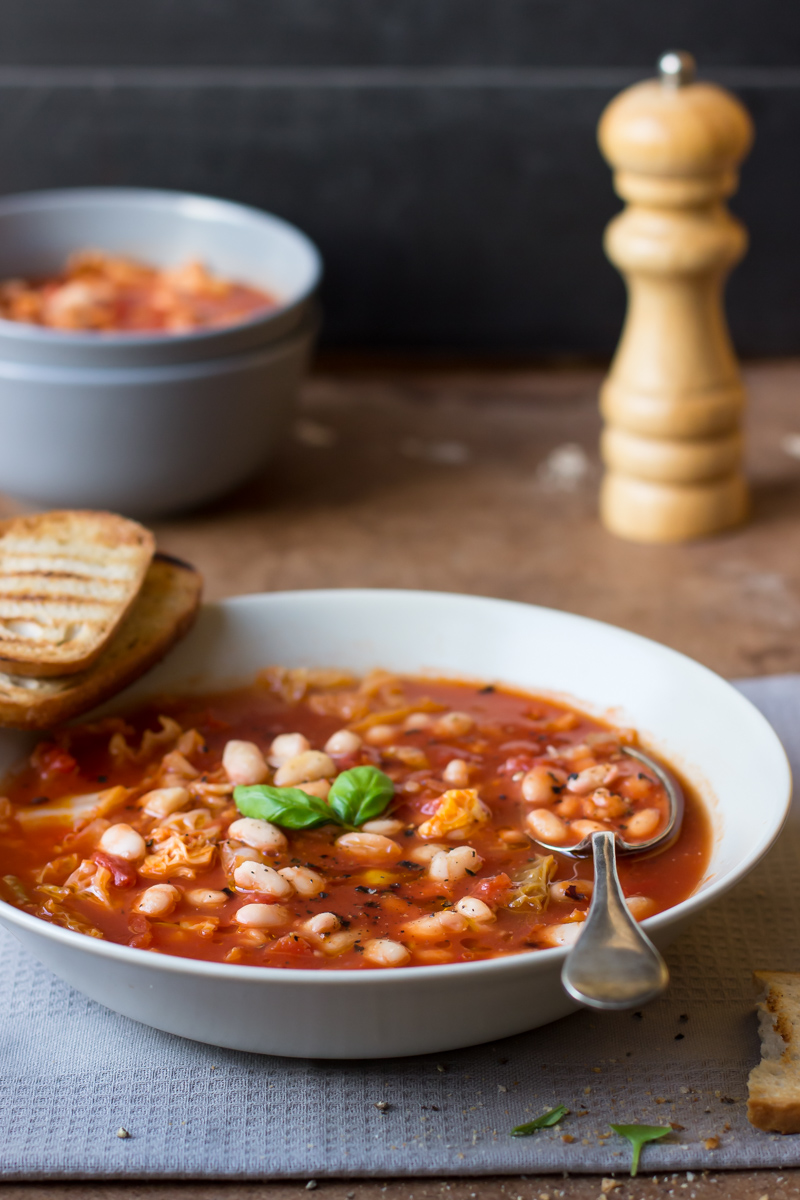
Pinpointing the theme of your session will help you create a composition, choose accessories, decide on lighting, and plan your purchases.. Imagine a steaming bowl of soup standing on a table with a dark background. Now watch the same soup, but on the kitchen table surrounded by vegetables and spices. Although the theme is the same, it evokes completely different emotions and associations in us. We can say that it is the power of Storytelling in culinary photography.
When planning a photo shoot, answer the following questions::
- What is the topic of the session and what is the main character? This is a dish or ingredient that you focus on and immediately want to attract the viewer's attention.
- What kind of story do you want to tell? Breakfast in the morning, a romantic dinner for two, or maybe a warming dish to eat on an autumn day?
- What accessories (dishes, cutlery, ingredients, flowers) will help you tell this story?
- Where will your photos be used, how long will you need them, and in what format?
Planning doesn't take much time. Even 5-10 minutes to write down the answer and possibly sketch out a composition will increase your chances of getting photos that you will be proud of!
4. Sloping horizon
The basic rule in landscape photography (not only) is that the horizon should always be straight. Did you know that in culinary photos we can also find the horizon? If you can see horizontal lines in your photos, such as the edge of the table or the contact line of the backgrounds, make sure that they run parallel to the bottom edge of the frame. Otherwise, the viewer will feel that the dish is about to slide off the table.
Decision:
In the camera's Live View preview, enable the level or grid of thirds and use it to align lines in the photo. You can also straighten a tilted photo in a graphics program by using the crop tool.
5. The photo is out of focus or out of focus
Sharpness in a photo is often an important element that determines whether it is successful or not. This helps us identify the main character of the photo, and the viewer knows what to look at.
Photos go out of focus mainly for two reasons:
- autofocus that doesn't pick up focus or focus that is placed in the wrong place,
- the exposure time is too long, which causes the photo to move.
Decision:
If you want to get a clear photo, take care of the scene with a lot of light, which will allow you to apply a short shutter speed. The principle is simple: the shorter the exposure time, the more likely it is that the photo will be sharp.
In low light conditions, the photo will show the shaking of our hands holding the camera or phone, so be sure to mount the equipment on a tripod. Autofocus may fail in low light or low-contrast subjects, so manual focus may sometimes be required. Since food is stationary, I personally prefer manual sharpening. This gives me complete control over where I want to direct my audience's attention. I try to leave as few camera automation solutions as possible, so if I use autofocus, I choose single-point autofocus mode.
6. Preparing a dish for a meal, not a photo
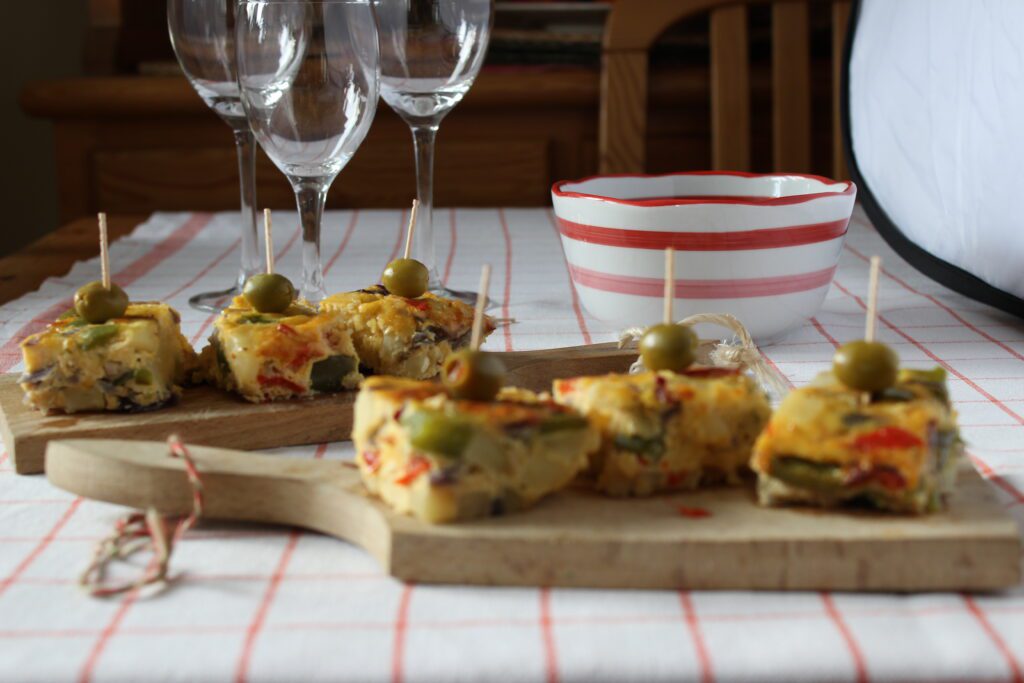
The camera sees differently than our eyes. So if you cook and put a dish on a plate the way you usually do for a meal, it won't look appetizing in the picture. Any spills and imperfections will be immediately visible, and this will discourage your audience.
In addition, many ingredients lose their texture and color when cooked for too long. As a result, they look unattractive, and we mostly don't know what dish we're dealing with.
Decision:
- Place small portions with clearly defined ingredients on plates.
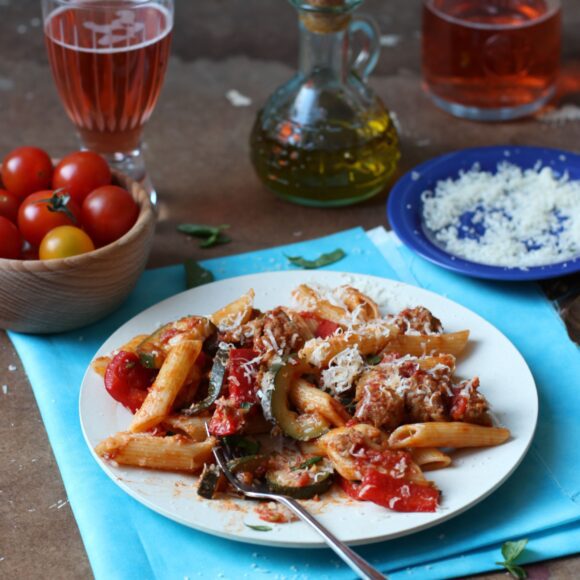
- Always put the most beautiful leaves of herbs, samples of vegetables or fruits for decoration.
- Pay attention to the durability of the ingredients and buy them as close to the photo shoot as possible.
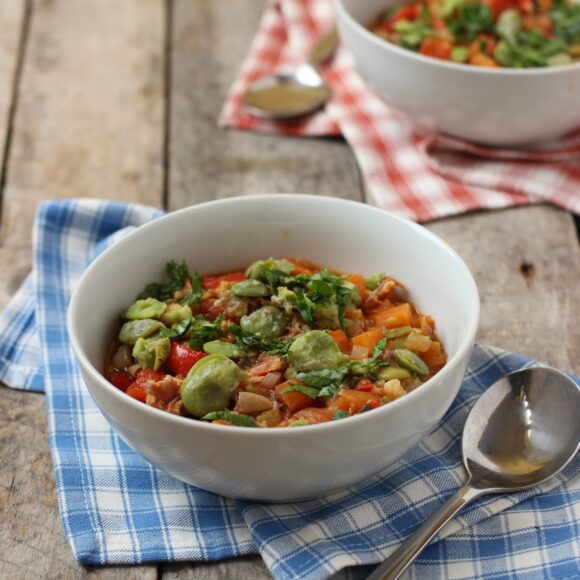
- Make sure that the dish is not overcooked, and the ingredients of the soup, curry or stew can be distinguished.
- Green vegetables, such as broccoli or beans, boil al dente and cover with cold water, and darkened fruits (bananas, apples, avocados) drizzle with lemon juice.
- Keep the edges of plates and bowls clean and free of food stains. If necessary, wipe them with a paper towel or a cosmetic stick.
7. Too many colors and patterns
Buying backgrounds and props for your cooking photos is extremely fun and can quickly become a hobby in itself. However, you should do it with your head! Many aspiring culinary photographers make the mistake of collecting a large number of beautiful and original items that do not match the style, and it is difficult to prepare a cohesive style of food from them. As a result, their photos are chaotic, and too many colors and patterns distract attention from the dish.
Decision:
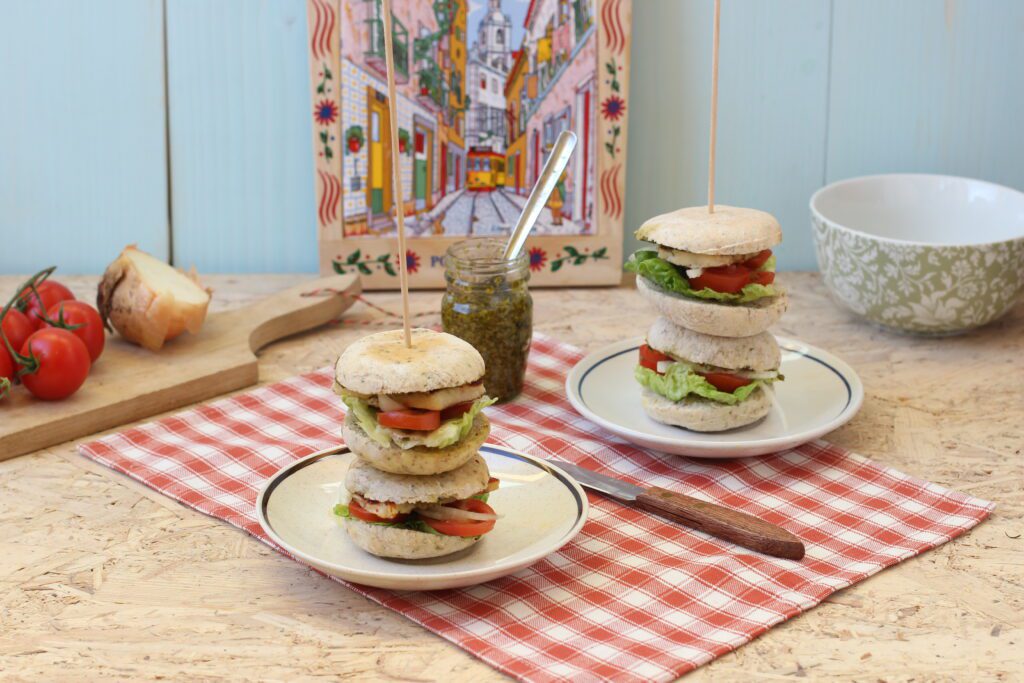
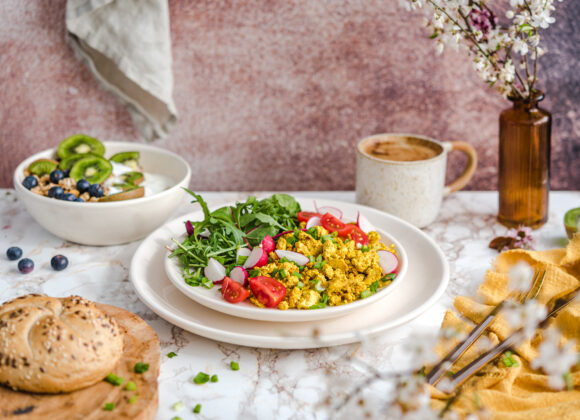
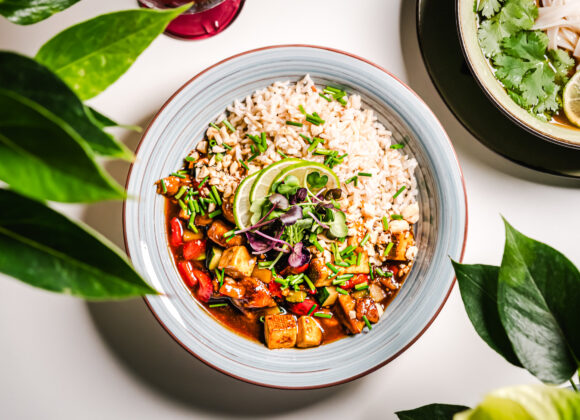
Adding various accessories around the dish you are photographing helps to give the image personality, as well as enhance its visual appeal. However, add-ons should not attract more attention than the main character of the picture. While hunting for props, backgrounds, and utensils, avoid colorful, patterned, and highly original items. Look for items with neutral shades: gray, white, brown, and black. Choose the most versatile props possible, as they will last you the longest.
I hope my tips will help you take your cooking photos to the next level. Good luck!



 Junior specialist in Marketing Communications and PR.


 He is a graduate of the University of Warsaw and the Main School of Agriculture. We have been in the HoReCa industry for more than 10 years. For many years, he has been associated with the Trip group, Sobienie Royal Golf and Country Club, and the Florentin Restaurant in Warsaw.
 She graduated from the Faculty of Architecture of the Warsaw Technical University with a degree in Architecture for the Knowledge Society and Visual Communications at the Polytechnic University of Milan. A specialist in creating a mood. She has gained experience at home and abroad at numerous international seminars (Seville, Lisbon, Florence), fellowships at La Sapienza (Rome), etc. m.in. in Carmi e Ubertis and ADM Milano.


 A manager with many years of experience in the cosmetics, food, and children's industries. During his career, he was associated with such companies as: L'Oreal, Samsung, Danone-Nutricia, Unilever. During his professional life, he was responsible, among other things, for the development of e-commerce sales and content in Poland and the countries of Central and Eastern Europe.


