Have you ever felt hungry / hungry after viewing a photo or close-up for a slow-flowing velvety chocolate? The fact that people buy with their eyes is not known from today, so when photographing food, you should focus on making sure that the pictures of food are really appetizing! Today, on the occasion of Chocolate Day, we take just this sweet!
Chocolate in photos takes many forms. It can be in solid form, for example, in chunks, a whole plate, or in liquid form-dissolved, flowing, or ready-made in a cup for consumption. What shape of chocolate you choose for your photo will, to some extent, impose on you the framework of how best to portray it. Below are some tips that will help you prepare a delicious frame!
Let's start with the basics, i.e. the room temperature
The ideal room temperature for processing chocolate is about 20°C. If the room is slightly warmer, the chocolate will start to melt before it can be folded. Remember that chocolate melts quickly, so never, ever expose it to direct sunlight.
When it comes to storing chocolate for photos, always choose a cool, dry place and, if possible, avoid using the refrigerator, as it is very humid and humidity can be as deadly to chocolate as sunlight. What's more, the chocolate may develop characteristic droplets that will need to be dried before shooting, and, even worse, it may have a white coating (which is terrible in retouching!). Example in the photo below:

fot. Polina Tankilevitch
Choosing chocolate for photos and composition
Which chocolate you choose for your photos will to some extent determine the choice of colors for your composition. If chocolate is your main character, it should be displayed correctly. Composition refers to the way elements are placed in the frame and the use of space. This is important for any type of photography, including chocolate photography. In other words: you have to think carefully about how you will arrange the shot with chocolate in the main role. Below is a slightly different example than the classic composite photo, i.e. a picture from a chocolate factory where the process of making chocolate was supposed to be presented. And in this case, we also have the main character that the eye is focused on:
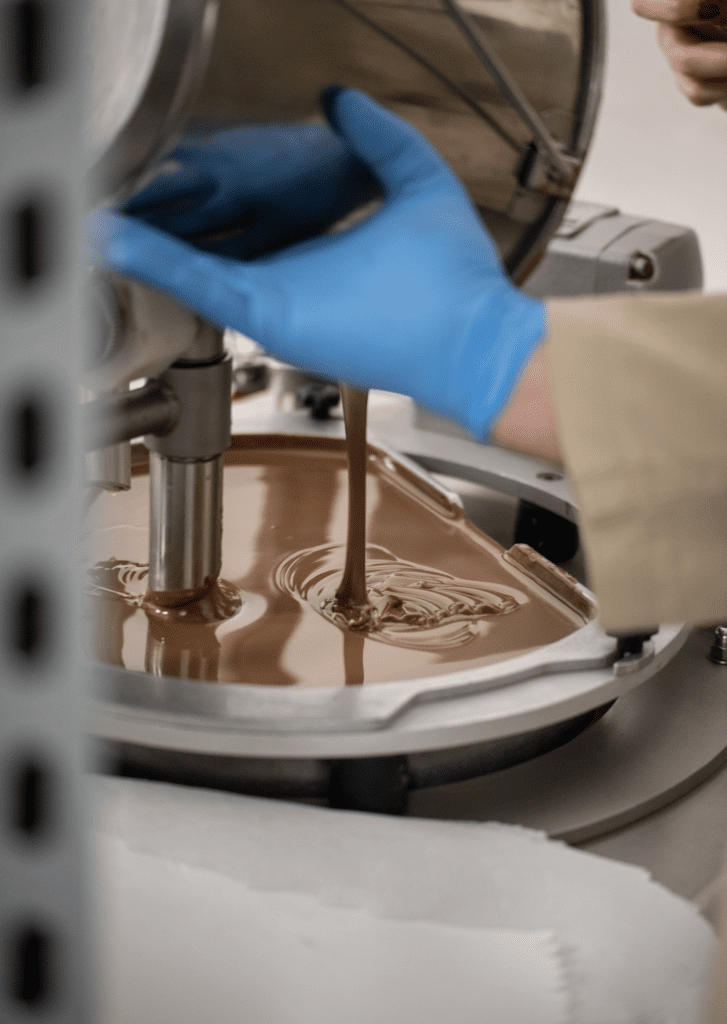
photo: Magda Malutko, creative agency from Kitchen
Start by defining the purpose of the photo: do you take photos of chocolate for a promotional event? Or to social media? It is best to decide at the very beginning whether the photo will be taken vertically or horizontally. This will make it much easier for you to create a composition. In addition, just as artists choose the right colors for their work, the person who styles the frame for the picture should also keep this in mind. Try to choose between at least two or three colors to create a contrast effect.
photo: Magda Malutko, creative agency from Kitchen
Props are also a very important element of the composition and should correspond to the target vision of the photo. If you want to take photos of individual candies or chocolate bars, you can stick to a simple background and focus on the details. However, if you prefer more extensive shots (or more commercial ones, where branding will be as important as the chocolate itself), you can add a few props to make the photo convey a broader story.

photo: Magda Malutko, creative agency from Kitchen
Properly selected light
Choosing the right light direction is one of the most important elements of chocolate photography. Your lighting should always highlight the subject you are photographing in the most thoughtful way possible.
photo: Magda Malutko, creative agency from Kitchen
If you light the frame at a right angle, you will improve the texture of the chocolate. Setting up side lighting is a safe and easy solution for many types of shots. If the front of the chocolate is not sufficiently lit, use at least white foam to reflect the light from the front. In general, in the case of culinary photography, you should avoid lighting directly from the front and exclusively from above, because this can confuse the image and deprive it of textures, and this is not the same as photographing food!

photo: Magda Malutko, creative agency from Kitchen
Lens
Many people, like a mantra, repeat that these days it is enough to take photos with your phone. In the case of culinary photography, unfortunately, I cannot agree with this. A good camera body is also not enough to create a good photo. The lens is key.
For chocolate photos, 100 mm (if you need a shot of the detail because it's a macro lens) or 50 mm, the universal lens for culinary photography, will work well.
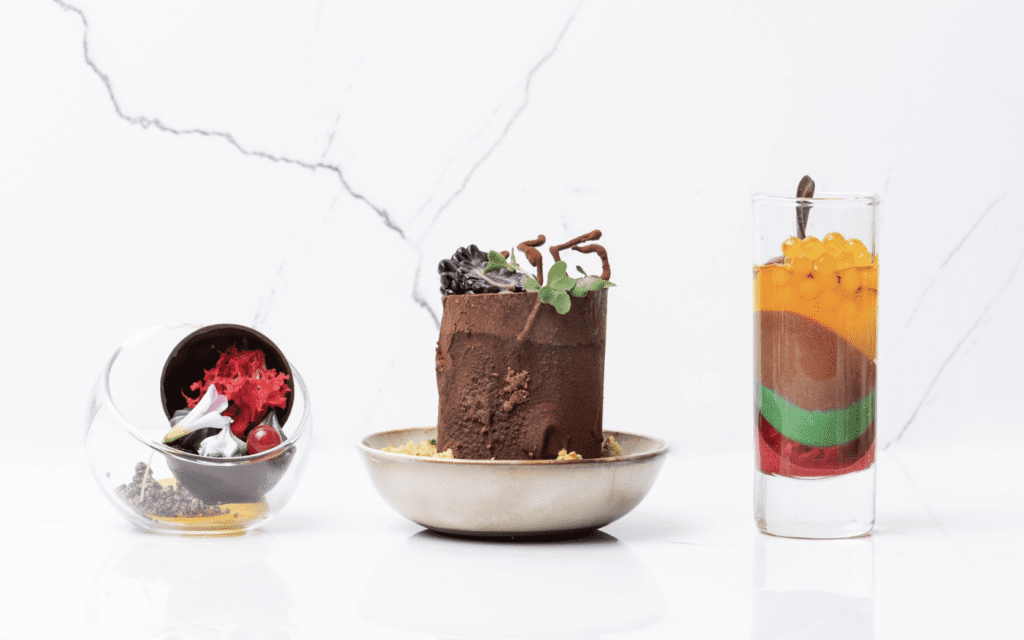
photo: Magda Malutko, creative agency from Kitchen
Photographing chocolate isn't as easy as you might think, but remember – training makes you perfect! Before each session, it's helpful to create an inspiring moodboard so that you know which direction you want to go in. This way, you will choose the right background, props, and most importantly, the right lens. Good luck!







 Junior specialist in Marketing Communications and PR.


 He is a graduate of the University of Warsaw and the Main School of Agriculture. We have been in the HoReCa industry for more than 10 years. For many years, he has been associated with the Trip group, Sobienie Royal Golf and Country Club, and the Florentin Restaurant in Warsaw.
 She graduated from the Faculty of Architecture of the Warsaw Technical University with a degree in Architecture for the Knowledge Society and Visual Communications at the Polytechnic University of Milan. A specialist in creating a mood. She has gained experience at home and abroad at numerous international seminars (Seville, Lisbon, Florence), fellowships at La Sapienza (Rome), etc. m.in. in Carmi e Ubertis and ADM Milano.


 A manager with many years of experience in the cosmetics, food, and children's industries. During his career, he was associated with such companies as: L'Oreal, Samsung, Danone-Nutricia, Unilever. During his professional life, he was responsible, among other things, for the development of e-commerce sales and content in Poland and the countries of Central and Eastern Europe.


