Until a few years ago, I had no idea that there was such a thing as culinary photography at all – and certainly that I would ever be doing it professionally! In Poland, this narrow photographic specialization is still developing, but more and more people are connecting their love of food with a passion for photography.
It's really hard to write down where you need to start to become a culinary photographer. Everyone's journey is different-for some, it starts with a passion for cooking and a cooking blog, for others, food is just a hobby and they take pictures in restaurants. The good news is that you certainly don't need to know how to cook to do this type of photography – however, it's always easier to get started by shooting in the comfort of your home, quietly.
So, if you are planning to start your adventure with fast food photos, I have some tips for you.
Equipment is not the most important thing
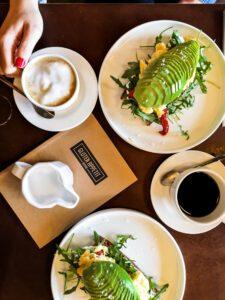
First, use what you already have - currently, our smartphones are equipped with pretty good cameras, and with them you can get really great effects! If you have pro mode on your phone, try using it. Read about three-way expositions - override, ISO and exposure time-and fiddle with these settings on your phone.
So check if you like it at all before you invest in a better camera. Of course, sooner or later it will be worth buying, but in culinary photography, the main thing is not the equipment, but the composition, light and the ability to show food from its most appetizing side. Things to invest in fairly quickly a good tripod "even the one you just attach your phone to." What's like what, but this tool will definitely make your photography adventure easier!
Learn the basics of composition
In culinary photography, composition is very important. Over time, you'll be able to plan your plans intuitively, but it's good to learn the basic rules first. Read about open and closed compositions, the best food camera angles, and the golden ratio. Enable a grid on your phone or camera to help you place the most important object where you want it.
There is nothing worse than a lot of items unknowingly stuffed side by side. In culinary photography, it should be known who the main character of the photo is-because it should attract attention.
Find the best profile of your food
The purpose of your photo should be to make the recipient want to eat what is immortalized on it. And this is now, immediately! He's already salivating at the sight.
So before you press the shutter button, think about what angle your food looks best from.. If you prepare them yourself, then when applying them to the plate, make sure that it looks aesthetically pleasing and that all the ingredients are visible in the photo. If you are photographing in a restaurant, turn the plate several times and evaluate from which point of view the dish looks most profitable. Maybe the yolk or melted cheese is running down somewhere? Grab it!
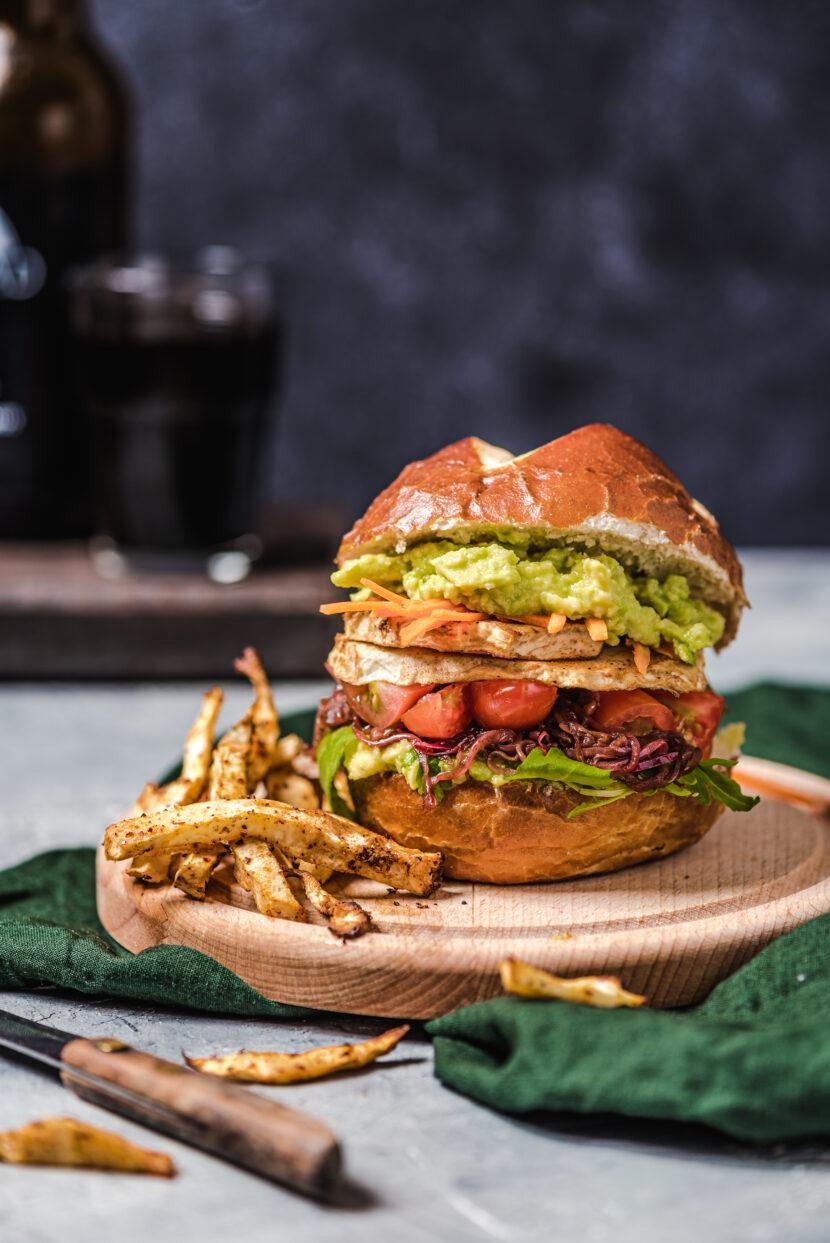
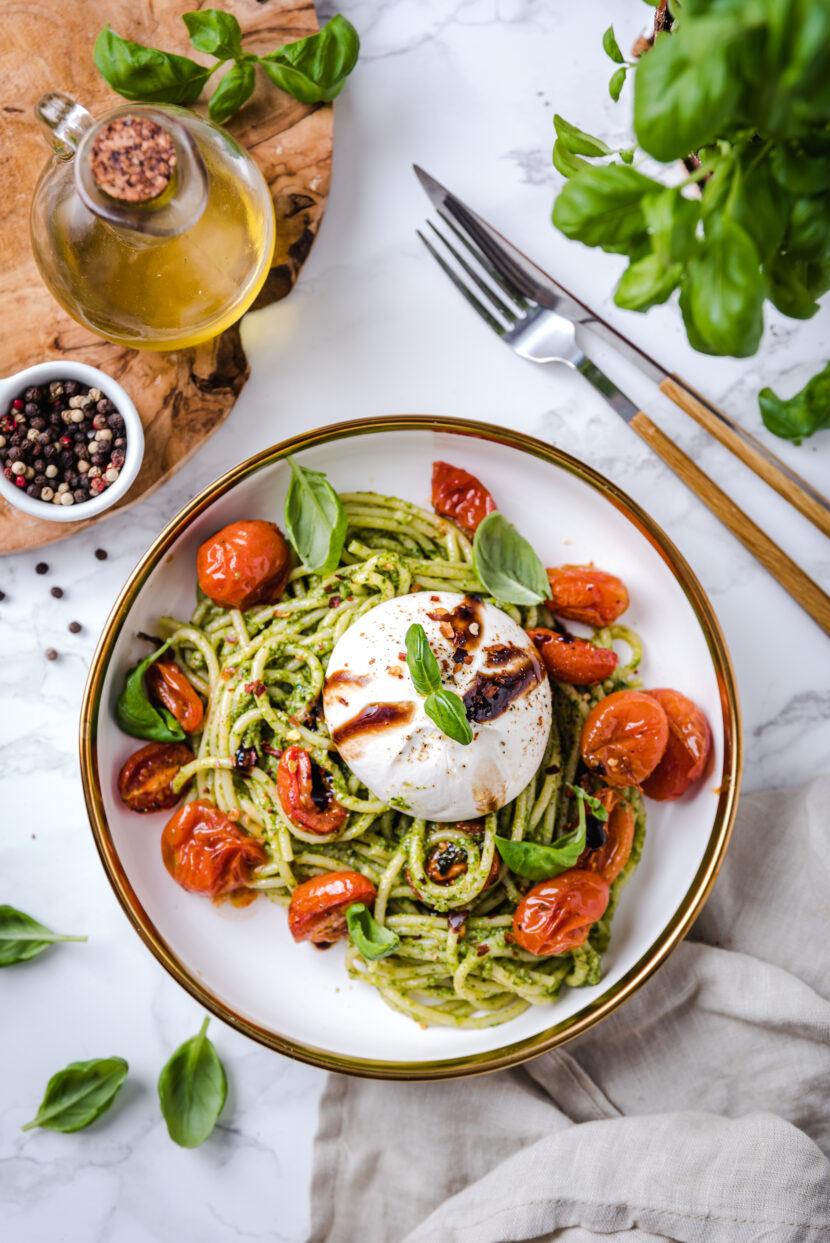
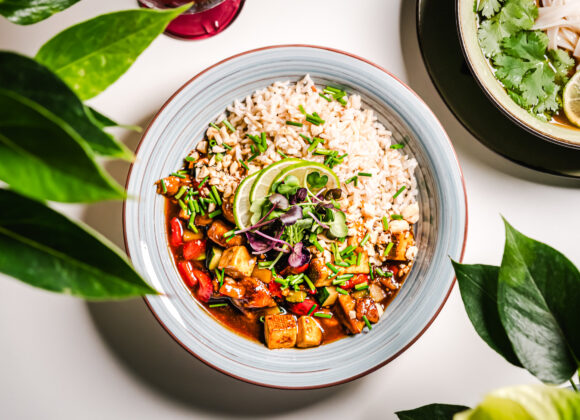
When shooting burgers or "closed" sandwiches, avoid photographing them from above (the so-called flat masonry). This angle is perfect for photographing soups, porridges or pizza.
Styling, styling, styling!
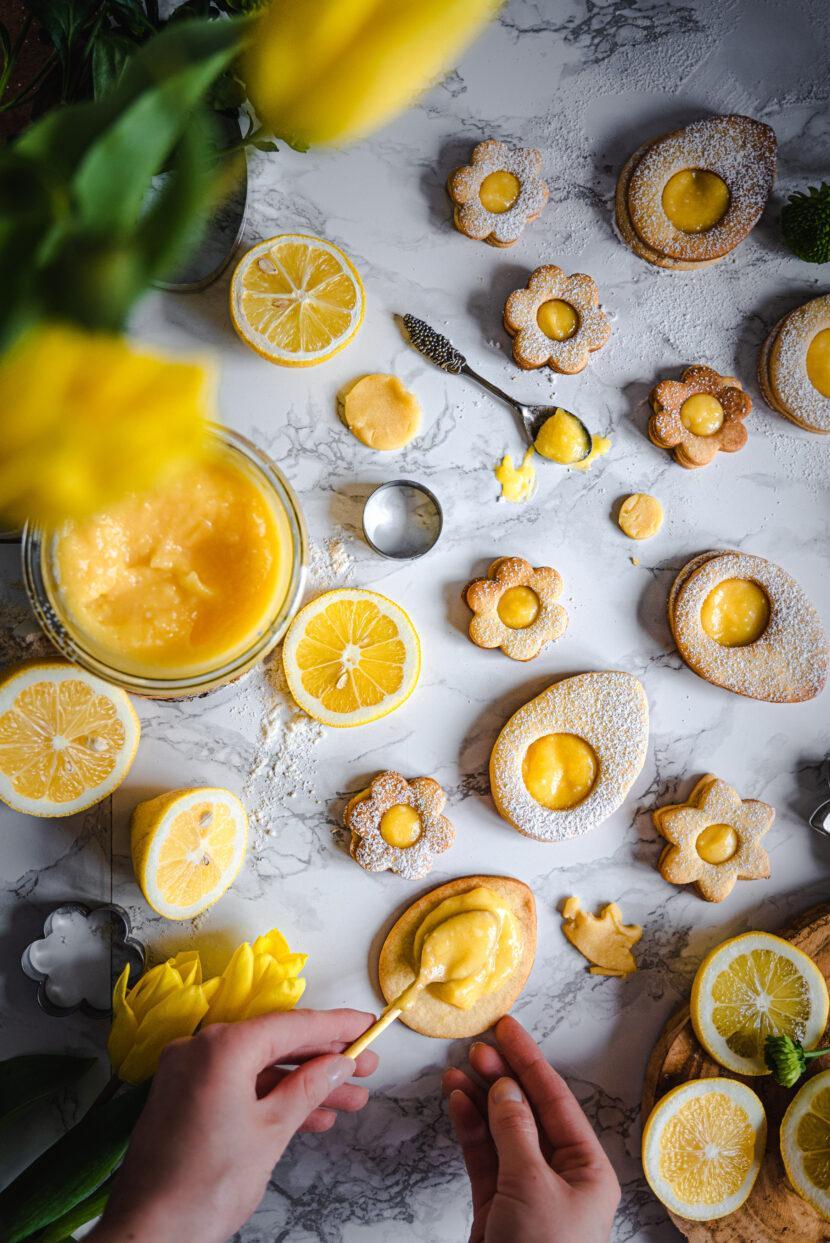
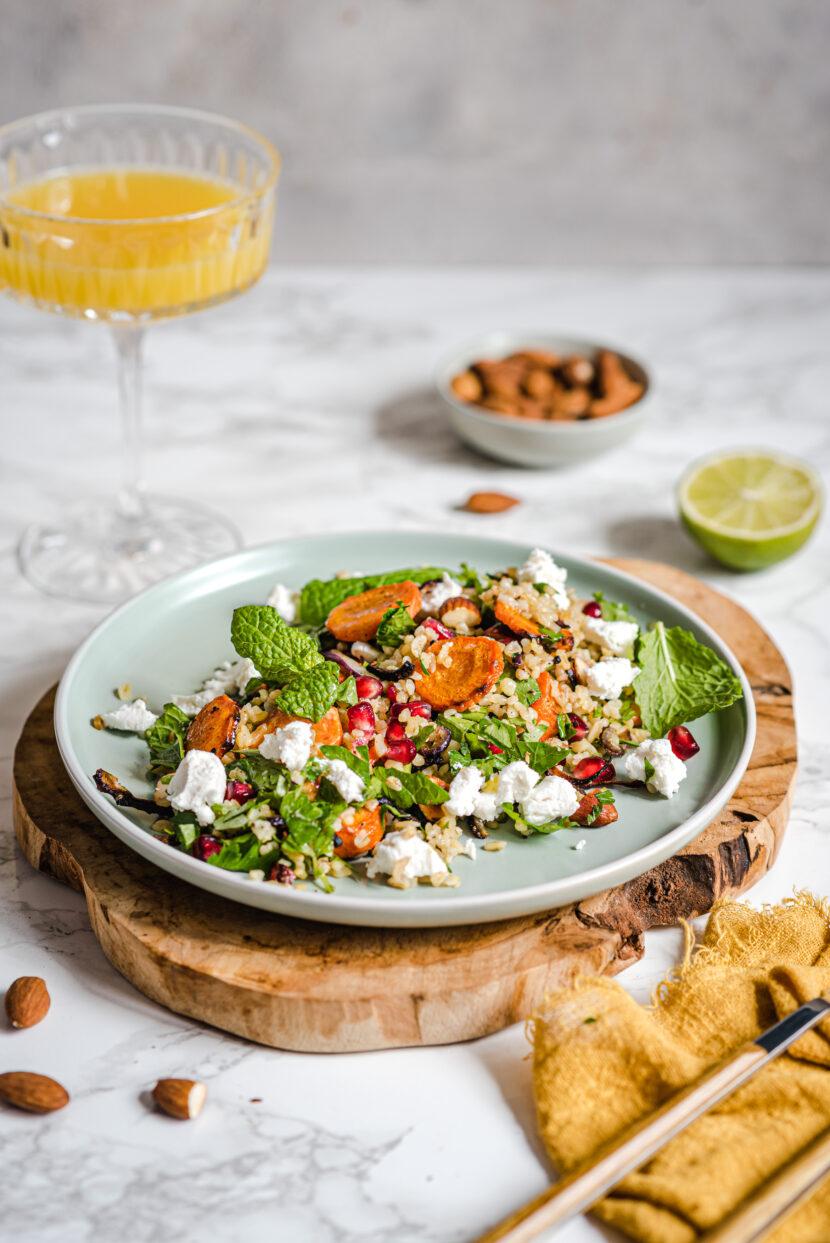
First, focus on one plate and one serving of the dish and make sure that it is served beautifully. Over time, start styling and organizing the entire plan. Next to a bowl of brownies, add crushed chocolate, next to a plate of salad, put pumpkin seeds or fresh herb leaves... In the background, you can see a bottle of oil, a pepper mill, a glass of wine, or a cloth. For styling, try to use the ingredients of the photographed dish - so that you can tell its story. First, don't use too many add-ons that might distract attention from the main character.
Pay attention to the colors in your photo. Use the opposite or additional colors-the color wheel will be useful here, which you can easily find on the Internet.
Use what you have at home
You don't need to buy the entire ceramics and photo backgrounds store at once. Use what you already have at home! Look for beautiful plates, cutting boards. Use countertops, curtains, or old doors or boards as a backdrop. Photo backgrounds are very easy to make yourself, using a store-bought HDF board, a sponge and a few samples of wall paint. Take a look around and be inspired by what you have around you.
Learn how to control the light
In any kind of photography, the main thing is light.. Several times during the day, take a walk around the house and pay attention to how it works – When it is soft and lazy, and when it is sharp and prickly in the eyes.
It is best to work with soft light falling from the side or back. If it's too sharp, use white, slightly transparent curtains as a diffuser. On the opposite side of the window, install a white lens hood (styrofoam is perfect here) that will reflect the light and brighten the entire plan.
If you're aiming for atmospheric dark photos, use black cardboard instead of a white blend to deepen the shadows. Using curtains, blinds, or cardboard boxes, try to adjust the light coming from the window so that it only illuminates the main character in the photo; leave the rest of the plan in semi-darkness.
Practice makes perfect
Do not be afraid of the first attempts "it's usually not the best start. It's worth practicing and taking as many photos as you can. Take photos of almost everything! Are there any beautiful cherries in the vegetable store? Buy them and try to take a picture! Making a delicious breakfast? By the way, take a picture. Without practice, there is no effect.
Get inspired and learn from others
Instagram, Pinterest - don't be afraid to use them. See photos of others, but consciously, and not just unwittingly scrolling through new messages. Take a long look at the photo you like and think about what composition was used, what color choice, how the accessories are arranged, and the dish itself. Get inspired, but don't copy! Look for your own style.
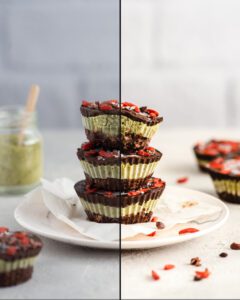
Processing is key
Photos taken directly from your phone or camera rarely look good – they're usually grayer, less intense than the actual food we photographed. Processing is really important and can help you-bah, sometimes even save a lousy photo.
Before you invest in photo editing software, install Lightroom on your phone (this app is free on the mobile version, and you can work wonders with it). Play with the sliders by changing the exposure, contrast, or texture. If you don't like it, buy a ready-made one presets, that is, a set of specific presets that you can apply to your photo with just one click.
Photo source: author's portfolio-Dorothy Domino.






 Junior specialist in Marketing Communications and PR.


 He is a graduate of the University of Warsaw and the Main School of Agriculture. We have been in the HoReCa industry for more than 10 years. For many years, he has been associated with the Trip group, Sobienie Royal Golf and Country Club, and the Florentin Restaurant in Warsaw.
 She graduated from the Faculty of Architecture of the Warsaw Technical University with a degree in Architecture for the Knowledge Society and Visual Communications at the Polytechnic University of Milan. A specialist in creating a mood. She has gained experience at home and abroad at numerous international seminars (Seville, Lisbon, Florence), fellowships at La Sapienza (Rome), etc. m.in. in Carmi e Ubertis and ADM Milano.


 A manager with many years of experience in the cosmetics, food, and children's industries. During his career, he was associated with such companies as: L'Oreal, Samsung, Danone-Nutricia, Unilever. During his professional life, he was responsible, among other things, for the development of e-commerce sales and content in Poland and the countries of Central and Eastern Europe.


