Chcesz rozpocząć przygodę z fotografią produktową, ale nie wiesz, jak się za to zabrać? Masz głowę pełną pomysłów, ale nie masz odpowiednich narzędzi? A może po prostu chcesz poznać tajniki atrakcyjnych zdjęć produktowych, które spotykasz w reklamach? Może to być dla ciebie zaskoczeniem, ale początek w fotografii produktowej jest prostszy, niż myślisz. Wystarczy nieco kreatywności, chęci i… wiedzy, którą chętnie się z Tobą podzielę!
Niech wiedza i praktyka idą ze sobą w parze
Nie da się ukryć, że będzie Ci potrzebna ogólna wiedza o fotografii. Dlatego też warto zaznajomić się z zasadami działania aparatu lub smartfona, poczytać trochę o kadrowaniu, trójkącie ekspozycji i edycji zdjęć… Z łatwością znajdziesz takie informacje na blogach doświadczonych fotografów czy w e-bookach branżowych.
Poza wiedzą teoretyczną ważna jest także praktyka. Dobra wiadomość jest taka, że na start nie musisz posiadać drogiego aparatu, kilku obiektywów, potężnego oświetlenia czy studia fotograficznego. Niezbędna będzie Ci za to kreatywność, chęci i konsekwencja w działaniu. Dzięki tym trzem supermocom nawet za pomocą smartfona będziesz w stanie zrobić przyzwoite zdjęcia produktowe. Jeśli natomiast myślisz o profesjonalnym tworzeniu zdjęć produktowych, to zachęcam do zainwestowania w porządny sprzęt.
Kilka słów o narzędziach początkowego fotografa
Aparat aparatowi nierówny, więc jaki będzie odpowiedni na start? Może to być nawet lustrzanka z drugiej ręki za kilkaset złotych. Ważne, żeby miał on gorącą stopkę, gdyż będzie ona potrzebna do podłączenia wyzwalacza lampy błyskowej. Wprawdzie na początku takie lampy nie są koniecznością, ale w pewnym momencie zapewne zapragniesz błysnąć w fotografii produktowej. Warto więc o tym pomyśleć.
Kolejnym sprzętem, wprost niezbędnym, jest obiektyw. I tu kolejna dobra wiadomość – może być to nawet „kitowy zoom”, którego niemalże każdy się pozbywa, a na aukcjach jest pełno jego ofert kompatybilnych z każdym systemem. Obiektyw kitowy to nic innego jak obiektyw sprzedawany w zestawie z aparatem. Brzmi dziwnie? Już spieszę z wyjaśnieniem!
W fotografii produktowej głębia ostrości zazwyczaj nie gra głównej roli, więc nie potrzebujemy bardzo jasnego i – co za tym idzie – drogiego obiektywu. W większości będziemy operować na przysłonach rzędu 5,6 i w górę, więc obiektyw kitowy jak najbardziej się nada.
Innym ważnym elementem sprzętowym jest statyw, w który polecam jednak zainwestować. Statyw ma być solidny, raczej ciężki i wysoki. Dobrze byłoby, gdyby miał łamaną kolumnę centralną, która pozwoli Ci robić flat laye o wiele wygodniej i sprawniej.
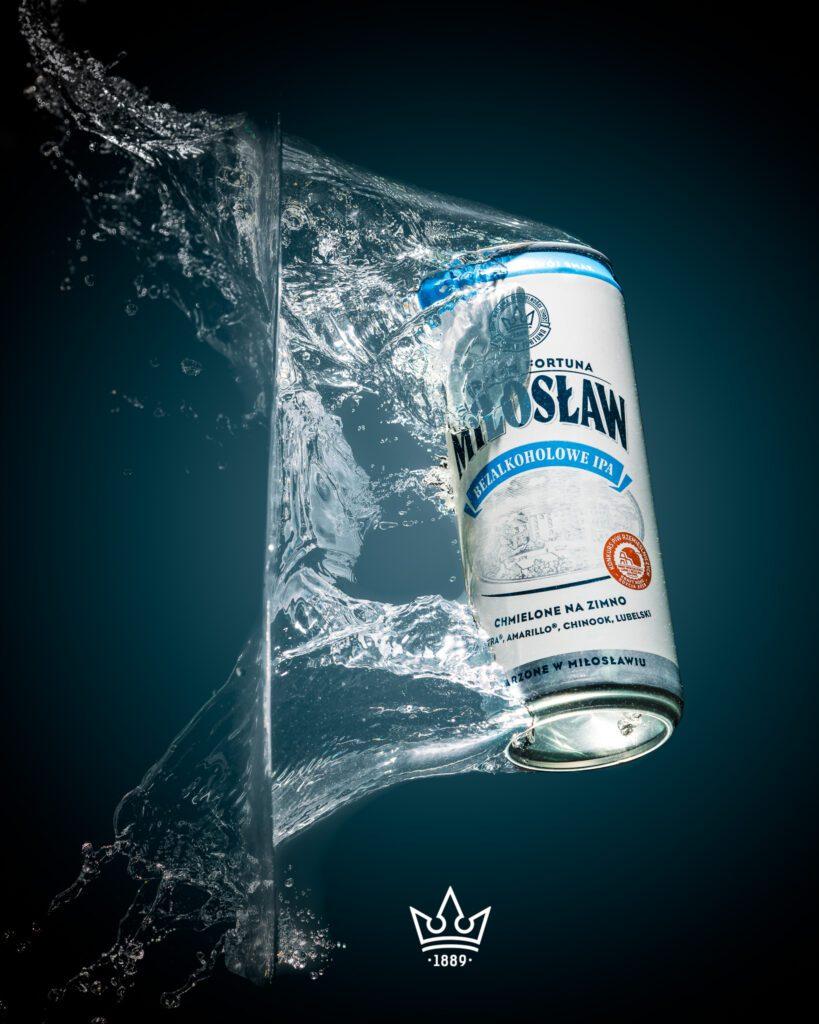 Tak jak wcześniej wspominałem, lampy błyskowe czy lampy światła ciągłego nie są niezbędne, ale warto już na wstępie o nich pomyśleć – w końcu światło w fotografii jest kluczowe. Zaletą światła sztucznego jest większa kontrola nad zdjęciem i brak ograniczeń związanych z warunkami atmosferycznymi. Jeśli jednak nie masz budżetu na oświetlenie, to odłóż jego zakup na później, a w międzyczasie korzystaj ze światła naturalnego. Taki scenariusz daje trochę mniejszą kontrolę nad światłem, ale i tu jesteś w stanie nieco oszukać system.
Jeśli korzystasz z naturalnego światła, musisz poznać kilka zasad. Zdjęcia wykonuj przy oknie, a produkt ustawiaj bokiem do padającego światła, dzięki czemu zdjęcie nabierze więcej trójwymiarowości i nie będzie „płaskie”. Jeśli słońce jest za mocne, wykorzystaj firankę, która zmiękczy światło. Jeżeli cienie są za głębokie, zniweluj je blendą lub zwyczajną białą kartką. Takich lifehacków jest sporo – warto więc zgłębić temat, żeby produkt finalnie wyglądał jak najlepiej.
Z kolei jeśli dysponujesz większym budżetem, możesz wziąć pod uwagę zakup lampy błyskowej. Nie musi to być od razu droga lampa studyjna – ja z powodzeniem używam zwykłych reporterek. Do tego wyzwalacz i jakiś softbox. Możesz zacząć od stripboxa, bo jest najpraktyczniejszy. Ja fotografuję zazwyczaj w dużym pokoju i w związku z tym muszę używać małego setupu – najczęściej jest to jedna reporterka i jeden stripbox. Jeśli dobrze czujesz się w obsłudze Photoshopa i potrafisz złożyć kilka ekspozycji w jedno zdjęcie, takie rozwiązanie jest również dla Ciebie.
Ostatnie szlify…
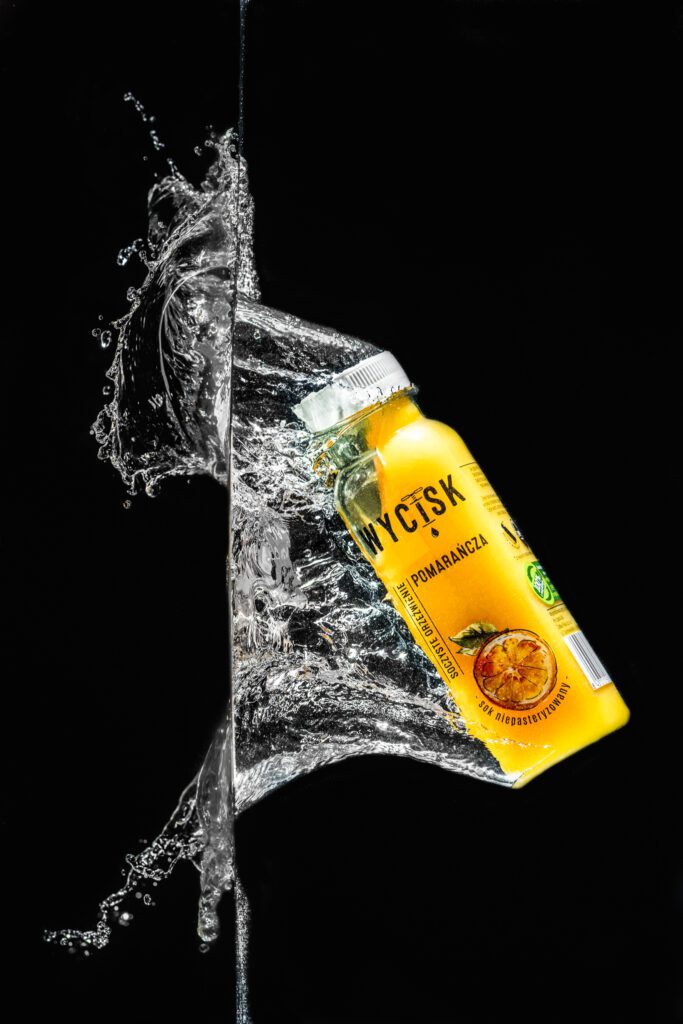 Kluczem do sukcesu w fotografowaniu produktów jest praktyka, dlatego od teraz każdą rzecz, którą kupujesz, traktuj jako temat fotografii produktowej. Jeśli masz zamiar wypić piwko podczas meczu, wybierz takie w butelce bez rys czy wgnieceń i pamiętaj, żeby zrobić mu zdjęcie. 😉
Przygotowując się do sesji, pamiętaj też o ogólnej czystości na planie. Warto nosić rękawiczki, żeby nie zostawiać odcisków palców na fotografowanych przedmiotach. Zanim chwycisz za aparat, przetrzyj produkt (a właściwie wszystko na planie) ściereczką. Jeśli tego nie zrobisz, najprawdopodobniej zaskoczy Cię ilość kurzu na finalnym zdjęciu i spędzisz dużo więcej czasu na edycji.
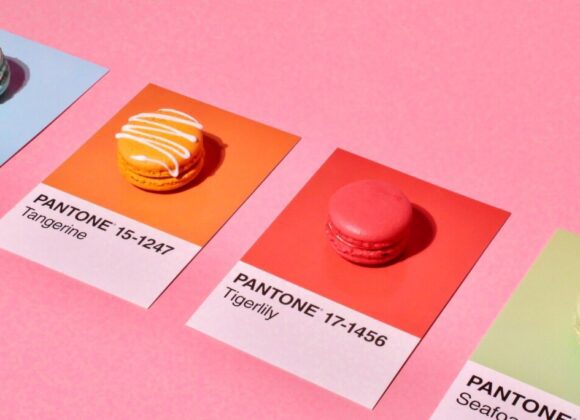
Co jeszcze warto wziąć pod uwagę? Ustawiając produkt podczas sesji, zastanów się, jak wyeksponować jego walory – postaraj się, żeby wyglądał on możliwie jak najlepiej. Pamiętaj również, że możesz użyć dodatkowych akcesoriów, które podkreślą charakter przedmiotu. Ważne jednak, by propsy (akcesoria) nie zdominowały zdjęcia – od razu musi być wiadomo, co jest tematem danej fotografii. Baw się formą, kolorem i fakturą. Możliwości są nieskończone, więc to czas, by uwolnić swoją kreatywność!
Źródło zdjęć: portfolio autora – Piotra Jaworskiego.








 Młodszy specjalista ds. komunikacji marketingowej i PR.


 Absolwent Uniwersytetu Warszawskiego oraz Szkoły Głównej Gospodarstwa Wiejskiego. W branży HoReCa od ponad 10 lat. Przez lata związany z Grupą Trip, Sobienie Królewskie Golf and Country Club oraz restauracją Florentin w Warszawe.
 Absolwentka Wydziału Architektury Politechniki Warszawskiej na kierunku Architecture for Society of Knowledge oraz Komunikacji Wizualnej na Politecnico di Milano. Specjalistka od budowania nastroju. Doświadczenie zdobywała w kraju i zagranicą podczas licznych warsztatów międzynarodowych (Sevilla, Lizbona, Florencja), stypendium na La Sapienza (Rzym) oraz pracując m.in. w Carmi e Ubertis i ADM Milano.


 Menedżer z wieloletnim doświadczeniem w branżach kosmetycznej, spożywczej, dziecięcej. W trakcie swojej kariery związany z firmami takimi jak: L’Oreal, Samsung, Danone-Nutricia, Unilever. W ciągu swojego życia zawodowego odpowiadał między innymi za rozwój sprzedaży i contentu eCommerce w Polsce i krajach Europy Środkowo-Wschodniej.

